Showing posts with label diy. Show all posts

Room Tour


 Bedspread: Buy/Sell/Trade $5.00
Pillows: Homemade/Thrifted $$1.00
Throw: Garage Sale $.50
Chalkboard: Free!
Create: Free!
Rod Iron Decor: Gifts!


 Nightstand: Dollar Store $10.00
Curtains: Homemade
Photobox: Gift
Candle: Gift
Lamp: Uknown
Mirror: Unknown
Hat Shoppe: Garage Sale $1.00
Hanger: Unknown
Tote: Garage Sale $.50


 Dresser: Family, Hand Me Down
Dress Form: Garage Sale $5.00
Hat: Free!
Picture: Homemade
Shelf: Auction
Miscellaneous: Gifts


 Bulletin Board: Unknown
Lamp: Gift
Books: Library $1.00
Sign: Gift
Computer: Best Buy $TooEXPENSIVE
Vanity/Desk: Family, Hand Me Down

Easy, Last Minute Mother's Day Gifts


 "Treat Yo' Self"
Nail Polish Remover $1.00
Nail Polish $2.00
Nail Clippers $1.00
Nail File $1.00
Total: $5.00


"Thanks for Helping Me Grow"
Canvas Shoes $6.00
Mod Podge $1.00
Assorted Sharpies $2.00
Total: $9.00


"Thanks for Raisin Me"
Raisins $4.00
Total: $4.00

DIY: 90's Demin


 Cut Out Shoulder Top
What You'll Need: 
Button Up
Scissors

 Use chalk or pin to locate shoulder area. Cut to your content.
Caution: Shoulder may get cold, add sweater**


Shortalls
What You'll Need:
Overalls
Scissors

Use Chalk or pin to find appropriate length. Cut at angle to create shortalls. 
Finally, decorate and distress to create finished look!


Scrunchie
What You'll Need:
Scrap Fabric
Elastic
Scissors
Glue/ Needle and Thread

Fold fabric in half, inside out; sew/glue along open edge making a tube. Turn tube right side out. Push elastic through tube until ends meet. Sew elastic and open ends together.
Rock your pony.


DIY: Spring Restoration


 What You'll Need:
A Purse
Mod Podge
Paint Brush
Scissors
Fabric


Cut fabric into shape/design. Use the Mod Podge as glue and paste object onto purse. Add thick layer of Mod Podge over top of fabric as well. Continue cut and paste method, adding a thick layer of Mod Podge until your design is complete. Allow 30-45 minutes for glue to dry.


All Finished!

DIY: Sweatpants To Skirt


Do you ever have one of those days where pants just aren't going to work? How about those days when sweatpants are the only thing you can wear? If this is ever you, I have the perfect solution to your problem. 
The following DIY will explain how to turn your favorite pair of sweats (or any pair, because, you know, can't even think about cutting up those perfect pants) into a comfy but stylish skirt for those days when getting dressed is out of the question.

What You'll Need:
(1) pair of sweats
scissors
needle and thread or fabric glue 


 Begin by cutting sweats to the length you want your skirt to be, adding a an 1/2 inch for seam allowance. Next, cut inseams (the crotch seams).

 Turn inside out and flatten (once flattened the crotch seams should now be located on the right and left side [they are outside of the dotted lines in picture] and the original right and left leg should now be the front and back of the new garment). Use the dotted lines as guide to sew/glue to create new seams for skirt. Hem bottom. Turn right side out. 

Done!

3 Easy and Cheap DIYs for Valentine's Day

 "We make the perfect match!"

What You'll Need:
Pair of Socks ($1.00, Dollar Tree)
Red Felt ($1.00, Dollar Tree)
Fabric Glue ($1.00, Dollar Tree)
Total Cost: $3.00


 Using red felt, cut two hearts. Find calf area on sock and glue hearts in place
Fold and tie with ribbon. 


"I gLOVE you so much!"

 What You'll Need:
Pair of Gloves ($1.00, Dollar Tree)
Pink Felt ($1.00, Dollar Tree)
Fabric Glue ($1.00, Dollar Tree)
 Total Cost: $3.00

 Put gloves pinky sides together. Using heart cutout, make straight cut down middle of heart to create two halves. Glue in place.


"Just HAT to say, you're my valentine!"

What You'll Need:
Beanie ($1.00, Dollar Tree)
Black Felt ($1.00, Dollar Tree)
Black Yarn ($3.99, Walmart)
Total Cost: $6.00


 Wrap yarn around pointer and middle finger 50(+) times [this will determine how big pom pom is; if you want big pom wrap more and vice versa]. Slide off finger and tie a loose piece of yarn around entire pom. Cut loops to get finished look. Glue at crown of beanie. Finally, add black felt heart. 


DIY Valentine's Day

   Heart Breaker
What You'll Need:
acrylic paint (pink and gray)
paint brush
stencil (optional)


Start by painting a heart in the center of the shirt. Let dry for 15-20 minutes. Once dry, use stencil (free hand if you feel confident!) to  write "breaker". 


Houndstooth Hearts

What You'll Need
scrap fabric (I used houndstooth)
scissors
hot glue/glue gun


Mark where your elbow is on shirt. Next take scrap fabric and make a heart cutout (use size of hand to measure correct length). Glue heart to elbow area. 


Nautical Love

What You'll Need:
yarn 
hot glue/glue gun


Use yarn to make a word. Once configured glue in place.

DIY Sweater Updates

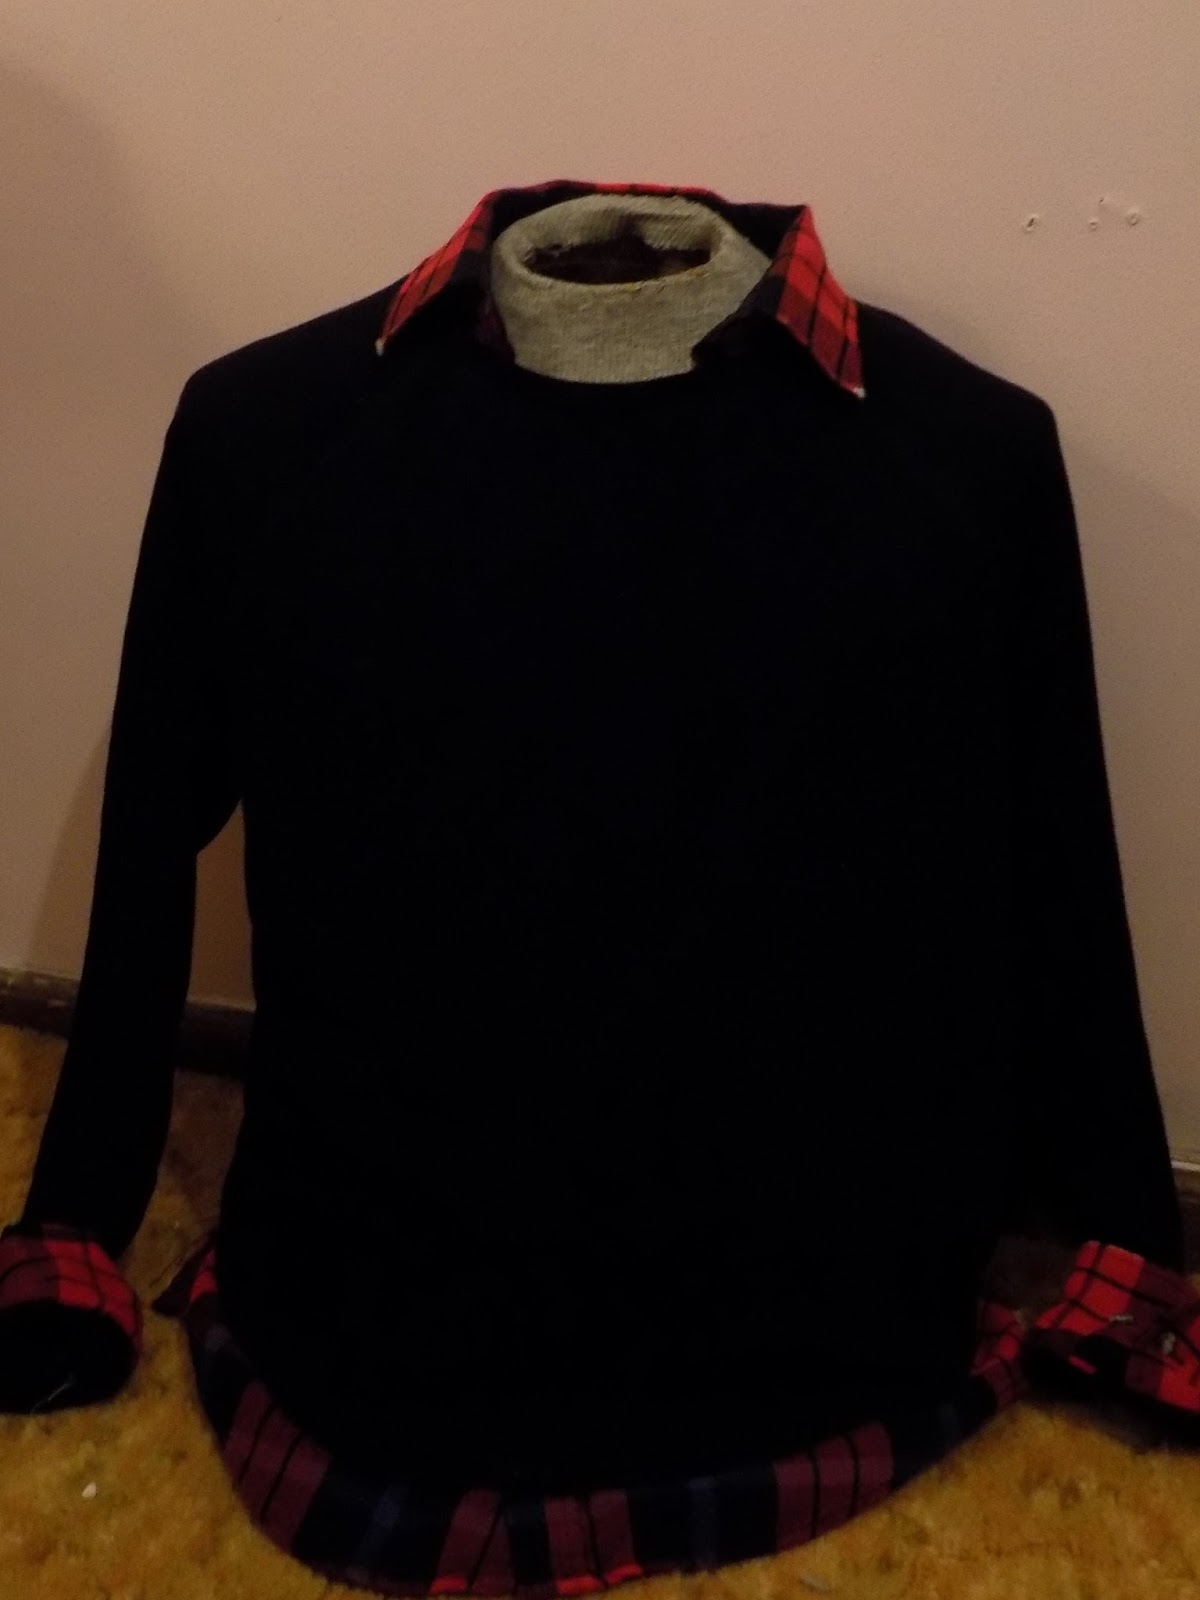
 Layered Look.


  Supplies:
Black Sweater
Plaid Button Up


Begin by removing the collar, bottom hem and cuffs 
(4 inches from bottom of sleeve) from the plaid shirt. 

Make sure to add a 1/2 inch to 1 inch  for seam allowance.

Sew all items onto black sweater as shown below (fabric glue could work too, just be careful when washing!). And you're all finished!


Reversed and Refurbished.


Supplies:
Black Sweater
Cardigan 

For this diy start with the cardigan open like shown above. Leaving the top 2 buttons buttoned,  remove the remaining buttons found on the cardigan. Finally, take your sweater and cut a triangle shape to fit the open part of your cardigan. 
Add a 1/2 inch to 1 inch for seam allowance.
Sew together (fabric glue could work too, just be careful when washing!). Here's the finished product!


Once a cardigan, now a cute, renovated sweater!
The back is flirty, yet work appropriate!


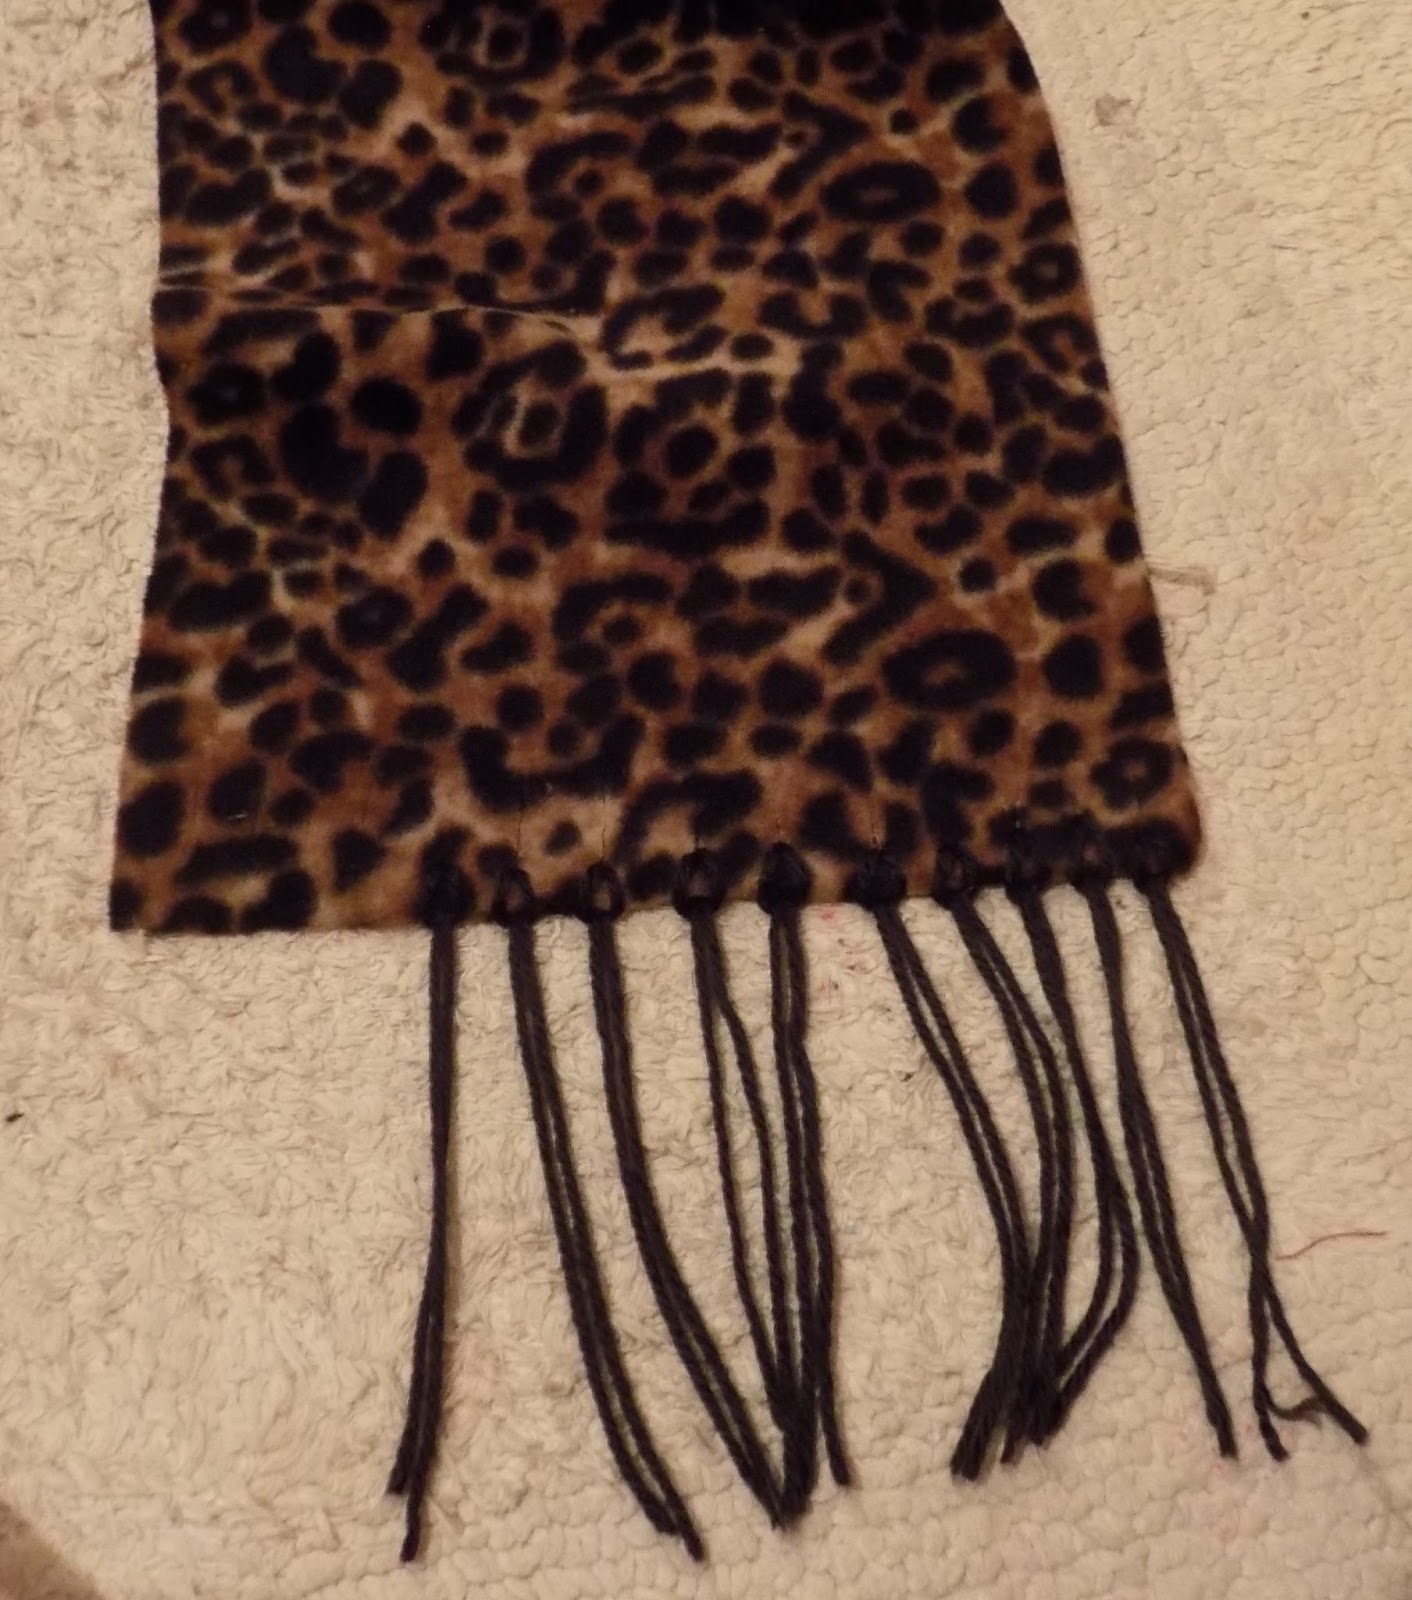
3 Easy DIY Scarves


 Supplies Needed:
Scarves
Yarn
Needle (Optional)
Acrylic Paint
Paint Brush
Glue Gun
Pom Pom Ribbon


 Scarf #1.)
I took a gray circle scarf I got from Old Navy ($1.00) and embellished (fancy word for hot gluing) it with pom pom ribbon I found at Michaels ($1.39). This is a tedious process but in the end it's worth it. So Cute!


 Scarf #2.)
This cream colored scarf, found at a charity shop ($0.25), was in need of a serious upgrade. Adding a whimsical print like the hearts, via red acrylic paint, is just what it needed. I free handed mine, but feel free to use a stencil for the perfect heart. Also, this could be really sweet for the upcoming holiday (hint, hint)!


 Scarf #3.)
 Animal print is a trend that will forever be in style. However, this Old Navy ($1.00) circle scarf just wasn't doing anything for me. Cut in half and enhanced with fringe, this scarf is now worth every penny! Here's a tutorial on how to revamp a drab scarf to fab, in minutes, so easy!