My Terrible Addiction


Hello, my name is Bekka and I'm addicted to all things watermelon.
The pink, the green and even the seeds; watermelons are my favorite. 
I have to come to terms with my problem and hope that you all can understand and accept me for my over the top obsession with this majestic piece of fruit.

In all seriousness though, today's DIY is a watermelon tray. This is the perfect accessory for any kitchen during the spring and summer time, or if you're like me, all year long and in my bedroom.. sweetens things up, doesn't it?! Anyways here's what you'll need:

Black Acrylic Paint
 Lime Tree Acrylic Paint
Bright Magenta Acrylic Paint
Round piece of lumber
Writing Untensil
Handle (X2)
Hot Glue


Start by measuring one inch all the way around the circle, this will be the division line between the pink and green colors. Paint the inside circle pink and the border green. 


 Paint black seeds onto center of the newly created watermelon. The last step is to hotglue on  the handles.


 All Finished!


Who Run the World? CURLS!


For someone that has string straight hair like myself, I'm always looking to do new things with my mane. However, being that it is straight, my hair has problems holding curls. So if you're like me or just want to try a new do, here's how I create long lasting and heat-less curls!


 What You'll Need:
Foam Rollers
Hairbrush
Spray bottle


These are the foam rollers I used; they range from small, medium to large.
 Start with damp hair, this is where the spray bottle comes into use unless previously washed (I washed mine, 80% was completely dry before I started curling). When you're ready to curl, take one inch sections of hair, placing the end of hair on foam curler, roll under. Do this all over scalp until finished. I slept on mine however you could put rollers in during the morning time, let set until dry and then remove.


 This is the side view and back of my head. I love that the foam rollers make the curls look more natural and voluminous!


Crop Tops and Muscle Tees


With summer quickly approaching, finding things that support the hot weather is crucial. Going naked has always crossed my mind, however, I don't want to scare or blind people with my paleness. So since we have to forgo that thought, the least amount of clothing is the next step. However, if you're like me, showing your goods off isn't always on my to do list.

 Here's my go at a crop top that isn't too showy:


 Start by laying shirt flat. Finding the middle of the shirt, cut a 5 inch section like seen in the second picture to create the center for the ties. From here, go to sides of shirt and cut toward the middle, leaving about 1 inch sections (picture 2 shows this)... these are the ties. Once finished, pull the new hem to get rid of any uneven edges.

Tips: 
- Don't want ties: continue cutting all the way around shirt, leaving no room for ties.
-Cut off sleeves: just follow original hem found in shirt.


DIY No Sew Headband


 As we get closer to summer time one thing is very clear. It's getting overwhelmingly HOT, fast! And I don't know about you but when the heat is blazing, my hair is not my friend. Having short hair has it's perks but even on days it's 100 degrees,  I need something to get my hair up and out of my face. My solution, a cute headband! And no worries for the ladies (or gents) with longer hair, this DIY is perfect for you too! And it's no sew!


What you'll need:
Old t-shirt
measuring tape
scissors


 Start by laying shirt out flat. Cut two 2.5 inch sections (I had to make an extra cut so I didn't have writing on my headband, if your shirt doesn't have writing/logo no worries, just move onto next step).


 Once you have cut the two sections, pull material so that it twists (like seen in first picture). Then lay one section horizontal and one vertical (second picture). From here, fold the horizontal section over the vertical.


 Now fold the bottom vertical section onto the top vertical. For this next part, pull the top sections through the bottom sections (Pull the top vertical through bottom vertical and the top horizontal through the bottom horizontal).


 All Done!


How to Style Rainboots


April is a month known for many things. April Fools' Day, Easter and Earth Day are just a few of the many days celebrated throughout the month. However, one thing that always enters the back of my mind during this time of the year is the cloudy, rainy weather. Where I live, the saying "April showers bring May flowers" holds very true. Galoshes, Wellies, Rain boots, whatever you may call them become very handy during the month of April and knowing how to style them is important. 

I put together three looks that could be worn to work, going out or just a causal day of shopping.


**Remember: Rain boots are a great way to accessorize. Just like jewelry, rain boots can be a statement piece which means keeping the rest of the outfit simple.

Outfit #1.) This outfit is kept simple by using a black dress. Adding the scarf and tote ties the outfit together while maintaining the focus on the boots.

Outfit #2.) Pairing a flowy top with some skinny jeans is a perfect combination for going out. Adding the polka dotted rain boots to this outfit keeps it casual yet fun!

Outfit #3.) A button up and jeans is a no brainer when it comes to looking cute but still comfy. Again, the rain add interest to the outfit and keep your feet dry from the rain!


Look for Less: Top Shop

Finding the latest trends on a budget is challenging. And as much as I would like to shop at these specific stores (ASOS, Brandy Melville, etc.), my bank account has a different idea.  With that being said, I'm always looking for similar items; finding look alikes to recreate into pieces that are close to the original is my ultimate goal... and I think I may have just found the perfect dupe! 


Top Shop $68.00
Rue 21 $5.00
 As you can see from the pictures above, these are two very different items. The shirt from Top Shop is originally $68.00 and is a crocheted floral top. The other picture is a dress from Rue 21 with a lace floral overlay 
*What's important to note here is that although these aren't the same materials, they create similar looks when complete*


To begin, start by cutting off sleeves. Then cut overlay and slip found underneath (with the overlay, I eyed the material to see where I wanted to cut, leaving some longer than slip.) Once this step is complete, turn inside out. Pin the sip to create smooth edges. Sew.


All Finished!

** Disclaimer: I do NOT own the Top Shop photo **


Taylor Swift Inspired Makeup!

 Smokey eyes are my favorite type of makeup look. From super glamorous to completely casual, smokey eyed makeup is perfect for any occasion. For instance, Taylor Swift wore a bronze enhanced look to the People's Choice Awards in 2014, but as I'm going to show you, it can be worn on a day to day basis.

 Start with your regular every day face makeup (foundation, concealer, powder, etc.). Once you have completed this step move onto your eyes. Begin with a nude color and then layer that with a tan on top.

 You'll then want to add a cinnamon colored shadow to the outer corner of your eyelid, bring this all the way to the bottom of your eyebrow. Also make sure to lightly sweep the under part of your eye. Take a darker bronze color into the crease of your eye. Finally, take a white or cream colored shadow right below eyebrow and BLEND (no harsh lines!)

 The last step is what can make this look go from casual to fancy! Add eyeliner (black for fancy, brown for casual) to top eyelid, waterline on both top and bottom. Finish by adding a coat of mascara and fake lashes is necessary!


Finished Look!

** Disclaimer: I DO NOT own the picture of Taylor Swift**

DIY Earrings

DIY Earrings

Jewelry can definitely enhance an outfit. Unfortunately, finding jewelry that is affordable without breaking the bank is tough! I mainly stick to earrings when accessorizing, however those too can cost anywhere from $2.00 to $10.00(+), a little to high for something I can lose so easily. With that being said, making your own jewelry is not only more affordable but can also be made to your liking, not to mention fast and easy to make! 

Here's What You'll Need: 
Thumb Tacks ($1 @ Dollar Store)
 Q tips ($1.00)
E 6000 - adhesive ($4-$6)
Pearls, Buttons, Flowers, Etc. to decorate earring with


 Step 1.) Apply adhesive to thumb tack (use Q tip to distribute glue evenly).
Step 2.)  Place decoration onto front of thumb tack. 
Step 3.) Let dry for 5 minutes
Step 4.) Repeat steps 1-3 with new thumb tack to create second earring. 

 Finished Product!


Motivational Monday

 Motivational Monday

"I think Monday is probably in my top seven days of the week." - tweeted by Nick Jonas

This tweet is the most honest thing I've ever read from a celebrity. Monday's are definitely one of those days that just don't float my boat, no matter how hard I try to get things accomplished. I'm sluggish and uninspired to pretty much do anything.  If you've ever felt this way, here are my recommendations for getting motivated on Monday's (or any day for that matter)!


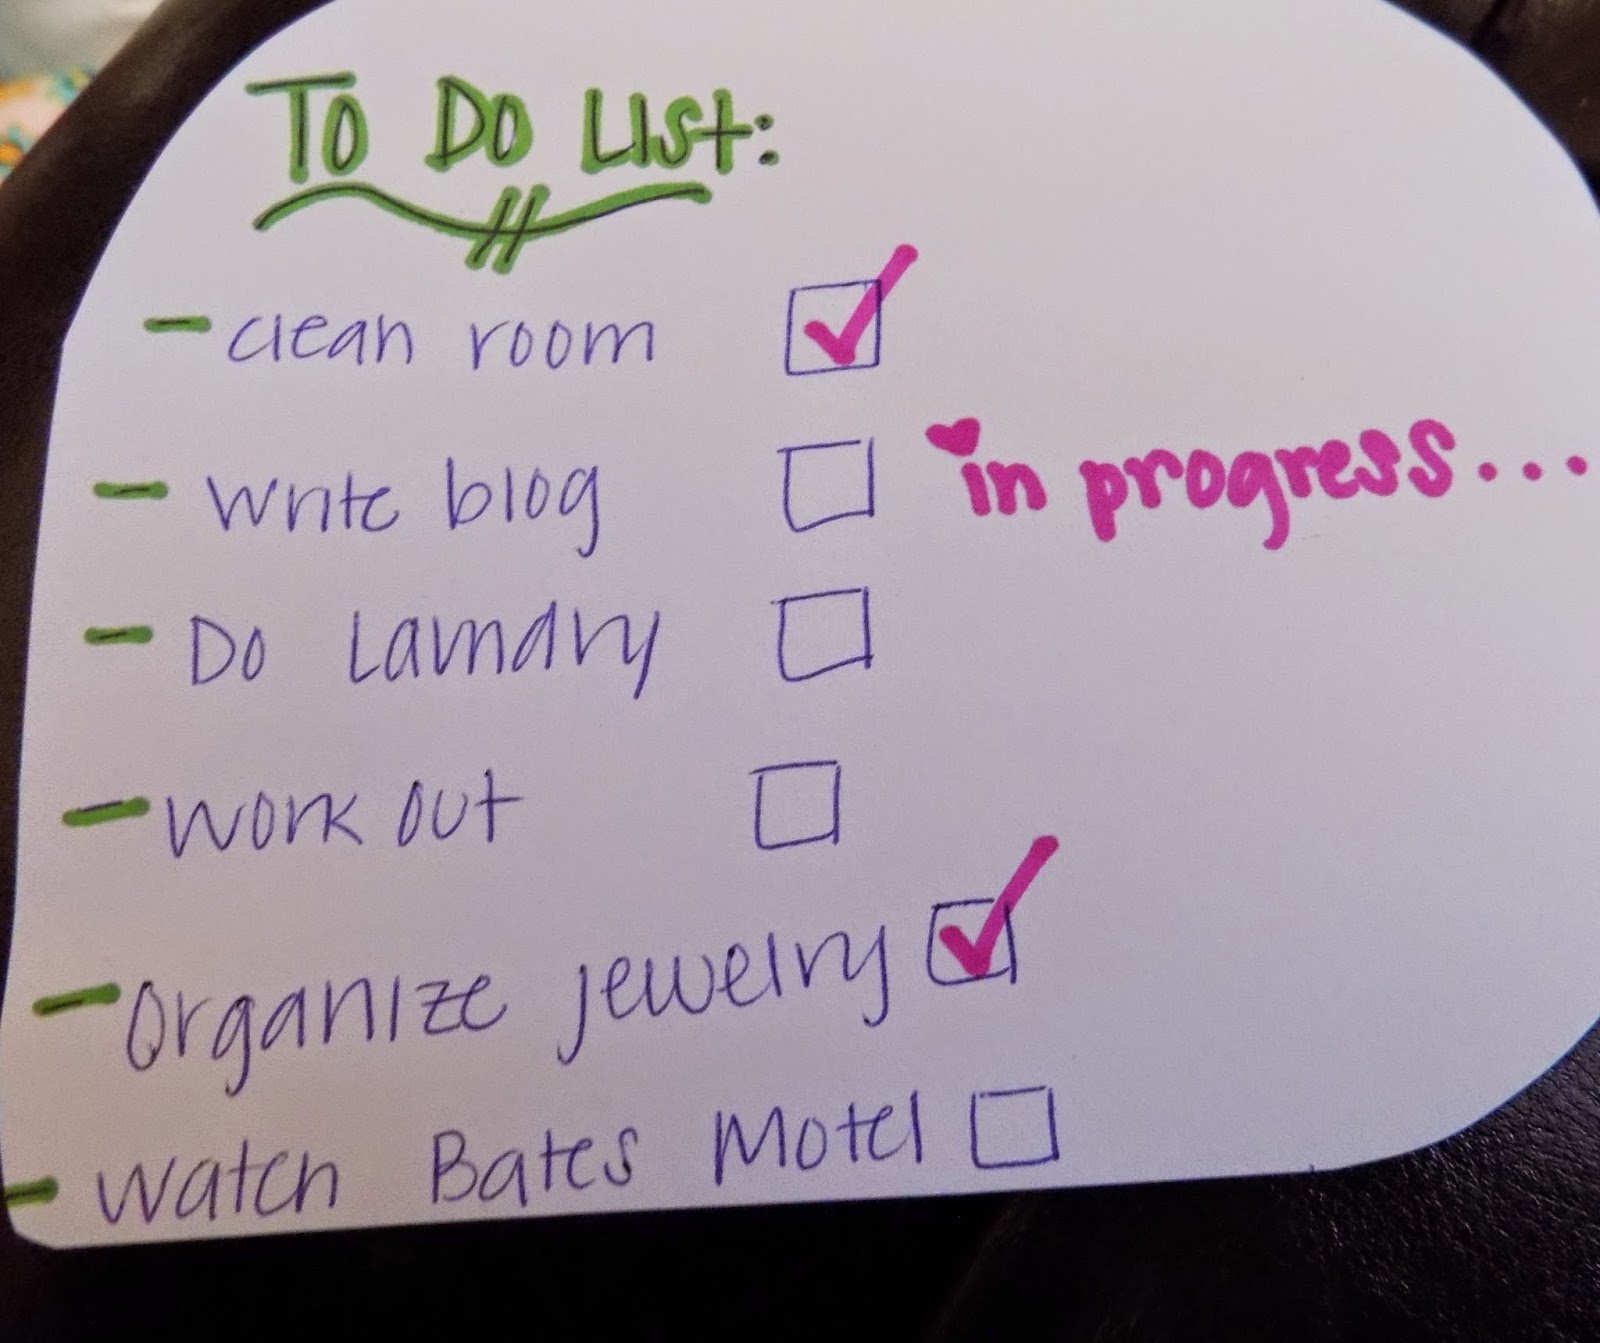
1.) Make a to do list: These always help me to organize my thoughts, which seem to be jumbled on Monday mornings, and give me a satisfied feeling when I check something off my list.


2.) Make a count down: This method could literally be used for anything but especially when feeling unmotivated. In particular, this count down is used for an upcoming vacation. Crossing out the days when finished always helps me to physically see how many days I have until I'm done with something or, in this case, go on vacation.


3.) Make motivational board: Making a board that has inspirational words or sayings helps to keep me going. Seeing it everyday, every morning, motivates me to continue on my path or encourage me to start a new one. Motivational boards are great for when trying to meet a fitness goal or like mine, to stay inspired with my blog. It's totally original and can be tweaked for any circumstance.