Cut Out Shoulder Top
What You'll Need:
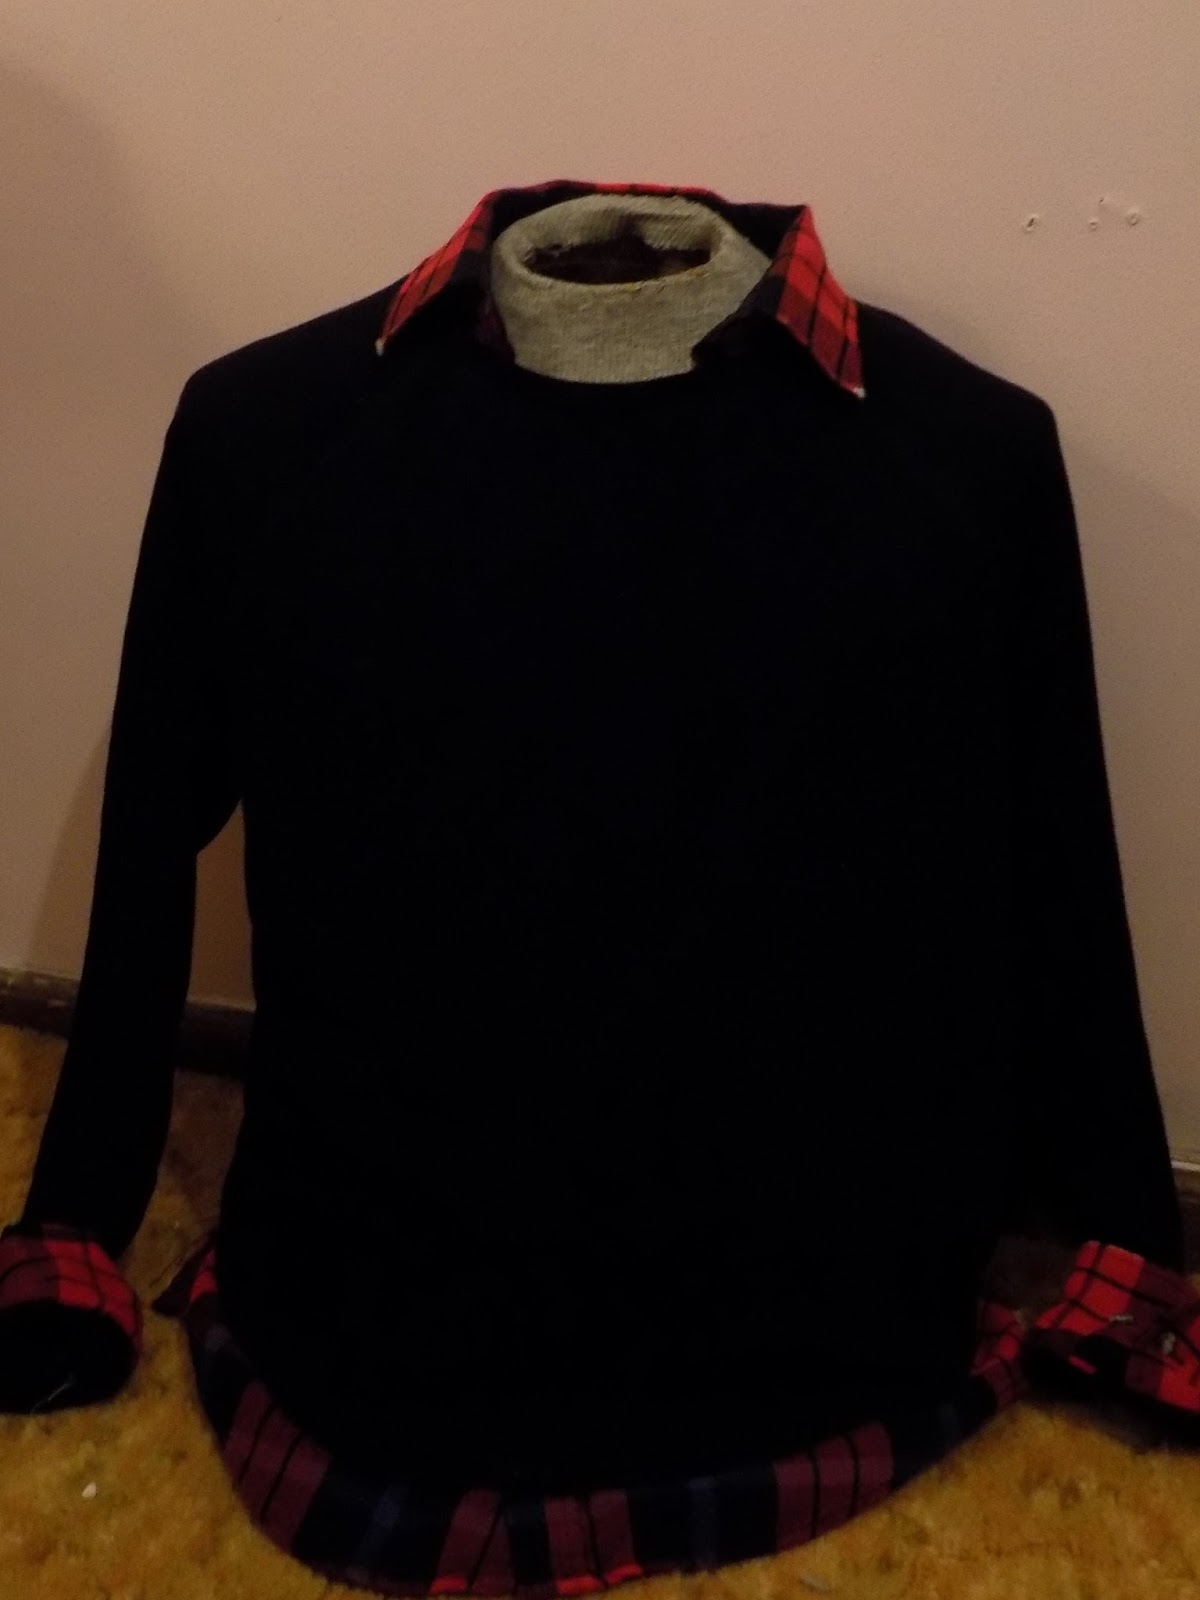
Button Up
Scissors

Use chalk or pin to locate shoulder area. Cut to your content.
Caution: Shoulder may get cold, add sweater**
Shortalls
What You'll Need:
Overalls
Scissors

Use Chalk or pin to find appropriate length. Cut at angle to create shortalls.
Finally, decorate and distress to create finished look!
Scrunchie
What You'll Need:
Scrap Fabric
Elastic
Scissors
Glue/ Needle and Thread


Fold fabric in half, inside out; sew/glue along open edge making a tube. Turn tube right side out. Push elastic through tube until ends meet. Sew elastic and open ends together.
Rock your pony.


