3 Easy DIY Scarves


 Supplies Needed:
Scarves
Yarn
Needle (Optional)
Acrylic Paint
Paint Brush
Glue Gun
Pom Pom Ribbon


 Scarf #1.)
I took a gray circle scarf I got from Old Navy ($1.00) and embellished (fancy word for hot gluing) it with pom pom ribbon I found at Michaels ($1.39). This is a tedious process but in the end it's worth it. So Cute!


 Scarf #2.)
This cream colored scarf, found at a charity shop ($0.25), was in need of a serious upgrade. Adding a whimsical print like the hearts, via red acrylic paint, is just what it needed. I free handed mine, but feel free to use a stencil for the perfect heart. Also, this could be really sweet for the upcoming holiday (hint, hint)!


 Scarf #3.)
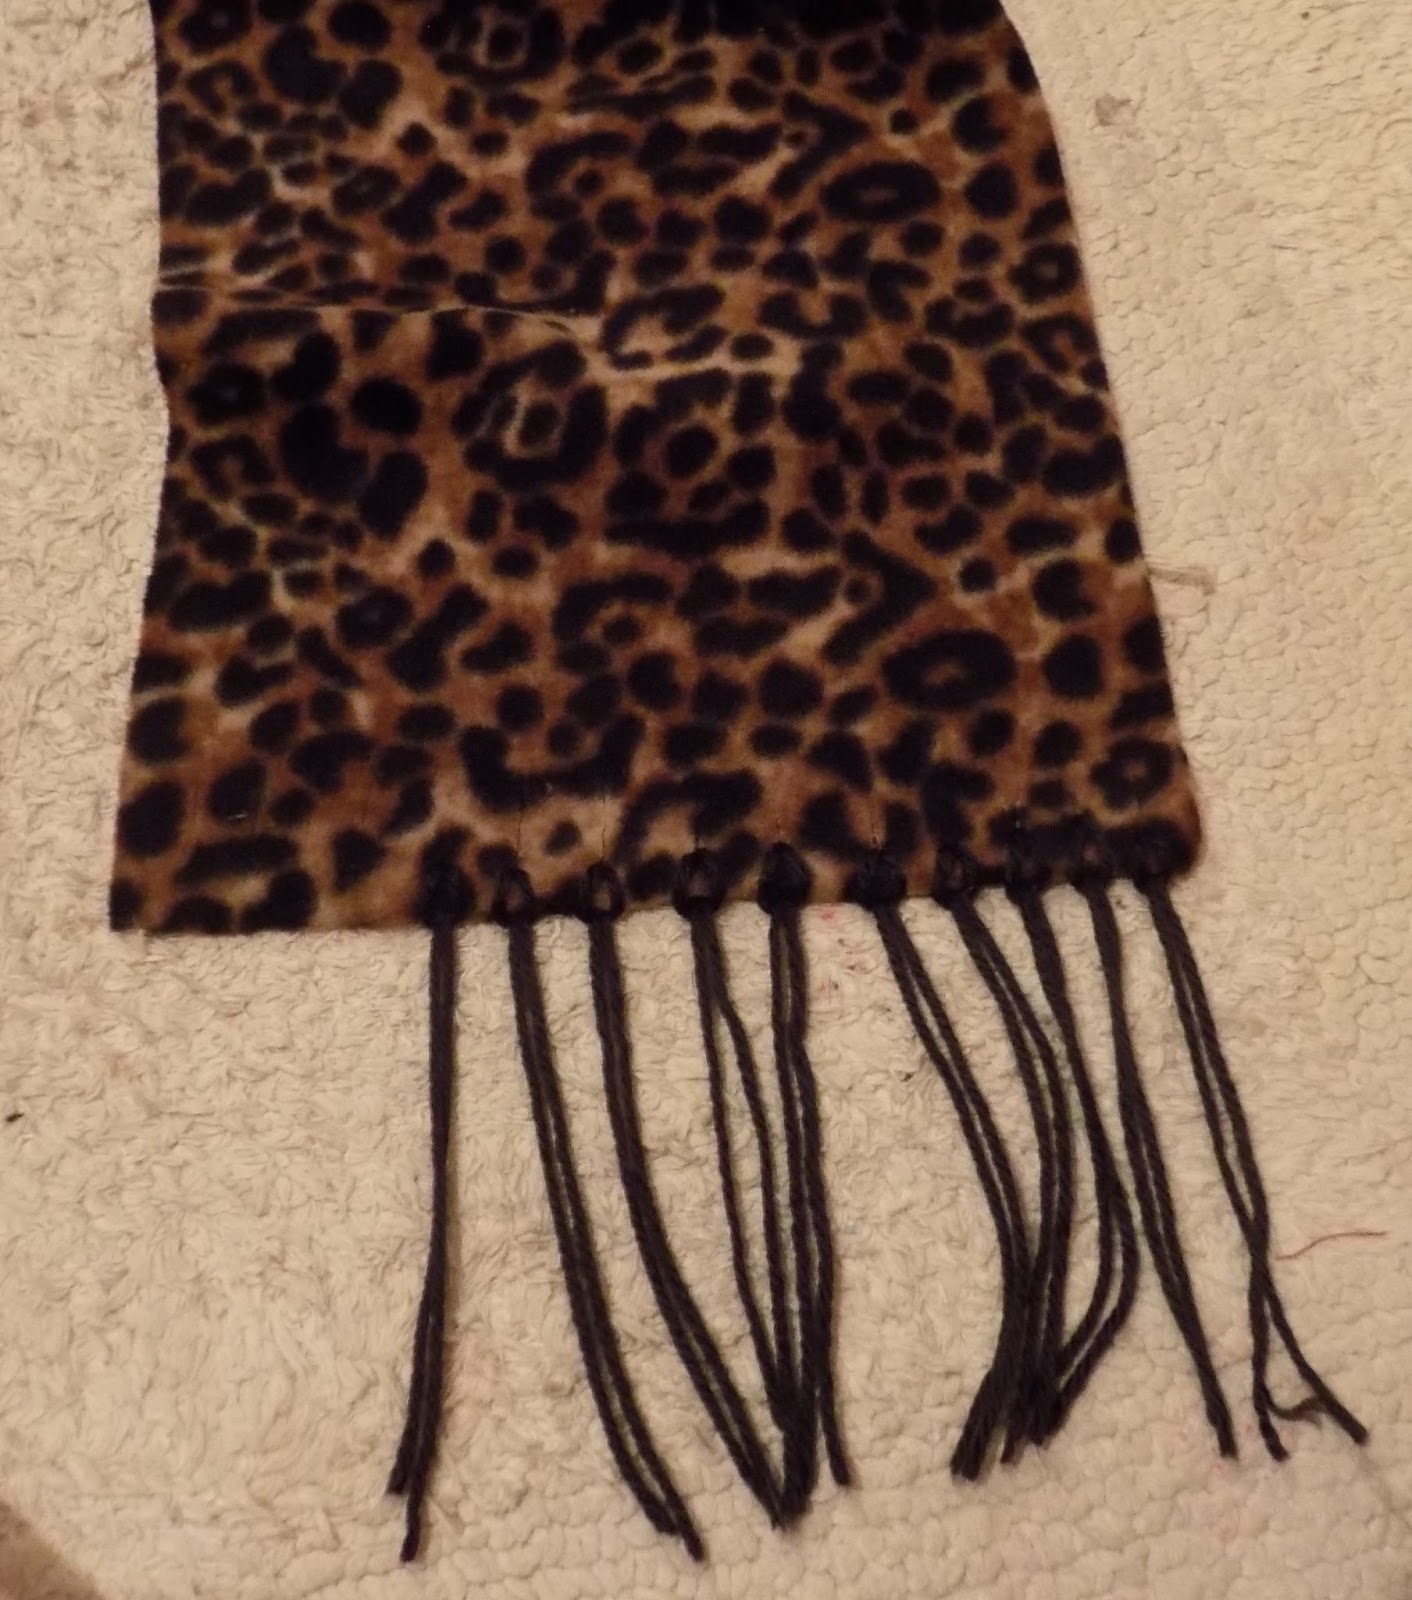
 Animal print is a trend that will forever be in style. However, this Old Navy ($1.00) circle scarf just wasn't doing anything for me. Cut in half and enhanced with fringe, this scarf is now worth every penny! Here's a tutorial on how to revamp a drab scarf to fab, in minutes, so easy!


Reese Witherspoon: Steal Her Style


Reese Witherspoon Photo Credit: InStyle

Look #1.) This is a perfect outfit if you want to be stylish but warm during the winter months. To replicate Reese's look, I started with a black cropped neck long sleeve shirt (Charity Shop, $2.00). To finish this look, I pulled out my favorite pair of skinny jeans (Gordmans, $12.99) and black ballerina flats (Goodwill, $3.99).
Total: $19.00


Reese Witherspoon Photo Credit: EOnline

Look #2.) Preppy, pink and perfect! For Reese's outfit I used a pink sweatshirt (Charity Shop, $1.00) I had in my closet and layered this over a collared shirt (Charity Shop, $1.00). Put on my pair of dark wash jeans (Gordmans, $12.99) and added leopard print flats (Gift).
Total: $15.00


Reese Witherspoon Photo Credit: Polyvore

 Look #3.) For this final look, comfort is a necessity! I began with a gray sweater (unknown) , a pair of dark wash jeans (Gordmans, $12.99) and riding boots (Payless, $13.99). To add a bit of interest, I threw on a navy colored scarf (Goodwill, $1.00) and you're set!
Total: $28.00


My Terrible Addiction


Hello, my name is Bekka and I'm addicted to all things watermelon.
The pink, the green and even the seeds; watermelons are my favorite. 
I have to come to terms with my problem and hope that you all can understand and accept me for my over the top obsession with this majestic piece of fruit.

In all seriousness though, today's DIY is a watermelon tray. This is the perfect accessory for any kitchen during the spring and summer time, or if you're like me, all year long and in my bedroom.. sweetens things up, doesn't it?! Anyways here's what you'll need:

Black Acrylic Paint
 Lime Tree Acrylic Paint
Bright Magenta Acrylic Paint
Round piece of lumber
Writing Untensil
Handle (X2)
Hot Glue


Start by measuring one inch all the way around the circle, this will be the division line between the pink and green colors. Paint the inside circle pink and the border green. 


 Paint black seeds onto center of the newly created watermelon. The last step is to hotglue on  the handles.


 All Finished!


Who Run the World? CURLS!


For someone that has string straight hair like myself, I'm always looking to do new things with my mane. However, being that it is straight, my hair has problems holding curls. So if you're like me or just want to try a new do, here's how I create long lasting and heat-less curls!


 What You'll Need:
Foam Rollers
Hairbrush
Spray bottle


These are the foam rollers I used; they range from small, medium to large.
 Start with damp hair, this is where the spray bottle comes into use unless previously washed (I washed mine, 80% was completely dry before I started curling). When you're ready to curl, take one inch sections of hair, placing the end of hair on foam curler, roll under. Do this all over scalp until finished. I slept on mine however you could put rollers in during the morning time, let set until dry and then remove.


 This is the side view and back of my head. I love that the foam rollers make the curls look more natural and voluminous!


Crop Tops and Muscle Tees


With summer quickly approaching, finding things that support the hot weather is crucial. Going naked has always crossed my mind, however, I don't want to scare or blind people with my paleness. So since we have to forgo that thought, the least amount of clothing is the next step. However, if you're like me, showing your goods off isn't always on my to do list.

 Here's my go at a crop top that isn't too showy:


 Start by laying shirt flat. Finding the middle of the shirt, cut a 5 inch section like seen in the second picture to create the center for the ties. From here, go to sides of shirt and cut toward the middle, leaving about 1 inch sections (picture 2 shows this)... these are the ties. Once finished, pull the new hem to get rid of any uneven edges.

Tips: 
- Don't want ties: continue cutting all the way around shirt, leaving no room for ties.
-Cut off sleeves: just follow original hem found in shirt.


DIY No Sew Headband


 As we get closer to summer time one thing is very clear. It's getting overwhelmingly HOT, fast! And I don't know about you but when the heat is blazing, my hair is not my friend. Having short hair has it's perks but even on days it's 100 degrees,  I need something to get my hair up and out of my face. My solution, a cute headband! And no worries for the ladies (or gents) with longer hair, this DIY is perfect for you too! And it's no sew!


What you'll need:
Old t-shirt
measuring tape
scissors


 Start by laying shirt out flat. Cut two 2.5 inch sections (I had to make an extra cut so I didn't have writing on my headband, if your shirt doesn't have writing/logo no worries, just move onto next step).


 Once you have cut the two sections, pull material so that it twists (like seen in first picture). Then lay one section horizontal and one vertical (second picture). From here, fold the horizontal section over the vertical.


 Now fold the bottom vertical section onto the top vertical. For this next part, pull the top sections through the bottom sections (Pull the top vertical through bottom vertical and the top horizontal through the bottom horizontal).


 All Done!


How to Style Rainboots


April is a month known for many things. April Fools' Day, Easter and Earth Day are just a few of the many days celebrated throughout the month. However, one thing that always enters the back of my mind during this time of the year is the cloudy, rainy weather. Where I live, the saying "April showers bring May flowers" holds very true. Galoshes, Wellies, Rain boots, whatever you may call them become very handy during the month of April and knowing how to style them is important. 

I put together three looks that could be worn to work, going out or just a causal day of shopping.


**Remember: Rain boots are a great way to accessorize. Just like jewelry, rain boots can be a statement piece which means keeping the rest of the outfit simple.

Outfit #1.) This outfit is kept simple by using a black dress. Adding the scarf and tote ties the outfit together while maintaining the focus on the boots.

Outfit #2.) Pairing a flowy top with some skinny jeans is a perfect combination for going out. Adding the polka dotted rain boots to this outfit keeps it casual yet fun!

Outfit #3.) A button up and jeans is a no brainer when it comes to looking cute but still comfy. Again, the rain add interest to the outfit and keep your feet dry from the rain!