Look for Less: Top Shop

Finding the latest trends on a budget is challenging. And as much as I would like to shop at these specific stores (ASOS, Brandy Melville, etc.), my bank account has a different idea.  With that being said, I'm always looking for similar items; finding look alikes to recreate into pieces that are close to the original is my ultimate goal... and I think I may have just found the perfect dupe! 


Top Shop $68.00
Rue 21 $5.00
 As you can see from the pictures above, these are two very different items. The shirt from Top Shop is originally $68.00 and is a crocheted floral top. The other picture is a dress from Rue 21 with a lace floral overlay 
*What's important to note here is that although these aren't the same materials, they create similar looks when complete*


To begin, start by cutting off sleeves. Then cut overlay and slip found underneath (with the overlay, I eyed the material to see where I wanted to cut, leaving some longer than slip.) Once this step is complete, turn inside out. Pin the sip to create smooth edges. Sew.


All Finished!

** Disclaimer: I do NOT own the Top Shop photo **


Taylor Swift Inspired Makeup!

 Smokey eyes are my favorite type of makeup look. From super glamorous to completely casual, smokey eyed makeup is perfect for any occasion. For instance, Taylor Swift wore a bronze enhanced look to the People's Choice Awards in 2014, but as I'm going to show you, it can be worn on a day to day basis.

 Start with your regular every day face makeup (foundation, concealer, powder, etc.). Once you have completed this step move onto your eyes. Begin with a nude color and then layer that with a tan on top.

 You'll then want to add a cinnamon colored shadow to the outer corner of your eyelid, bring this all the way to the bottom of your eyebrow. Also make sure to lightly sweep the under part of your eye. Take a darker bronze color into the crease of your eye. Finally, take a white or cream colored shadow right below eyebrow and BLEND (no harsh lines!)

 The last step is what can make this look go from casual to fancy! Add eyeliner (black for fancy, brown for casual) to top eyelid, waterline on both top and bottom. Finish by adding a coat of mascara and fake lashes is necessary!


Finished Look!

** Disclaimer: I DO NOT own the picture of Taylor Swift**

DIY Earrings

DIY Earrings

Jewelry can definitely enhance an outfit. Unfortunately, finding jewelry that is affordable without breaking the bank is tough! I mainly stick to earrings when accessorizing, however those too can cost anywhere from $2.00 to $10.00(+), a little to high for something I can lose so easily. With that being said, making your own jewelry is not only more affordable but can also be made to your liking, not to mention fast and easy to make! 

Here's What You'll Need: 
Thumb Tacks ($1 @ Dollar Store)
 Q tips ($1.00)
E 6000 - adhesive ($4-$6)
Pearls, Buttons, Flowers, Etc. to decorate earring with


 Step 1.) Apply adhesive to thumb tack (use Q tip to distribute glue evenly).
Step 2.)  Place decoration onto front of thumb tack. 
Step 3.) Let dry for 5 minutes
Step 4.) Repeat steps 1-3 with new thumb tack to create second earring. 

 Finished Product!


Motivational Monday

 Motivational Monday

"I think Monday is probably in my top seven days of the week." - tweeted by Nick Jonas

This tweet is the most honest thing I've ever read from a celebrity. Monday's are definitely one of those days that just don't float my boat, no matter how hard I try to get things accomplished. I'm sluggish and uninspired to pretty much do anything.  If you've ever felt this way, here are my recommendations for getting motivated on Monday's (or any day for that matter)!


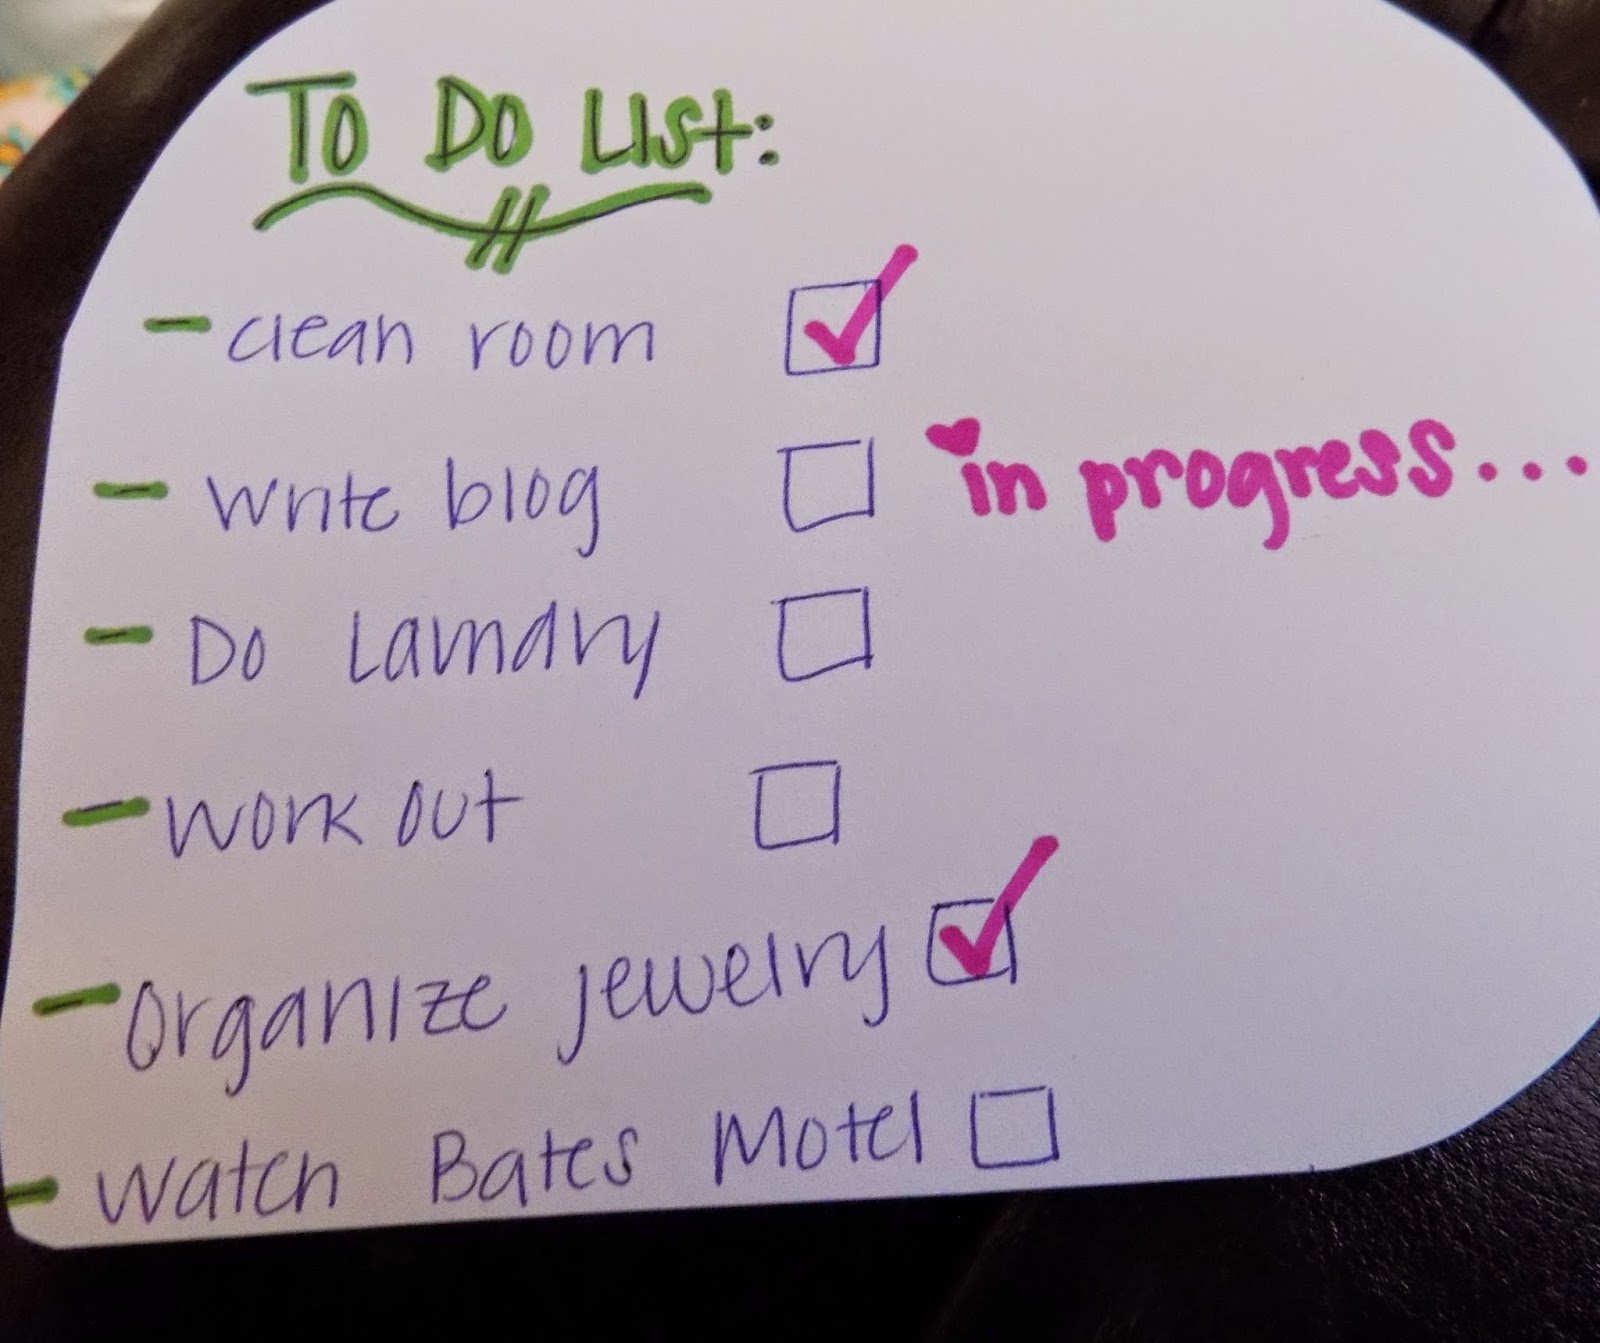
1.) Make a to do list: These always help me to organize my thoughts, which seem to be jumbled on Monday mornings, and give me a satisfied feeling when I check something off my list.


2.) Make a count down: This method could literally be used for anything but especially when feeling unmotivated. In particular, this count down is used for an upcoming vacation. Crossing out the days when finished always helps me to physically see how many days I have until I'm done with something or, in this case, go on vacation.


3.) Make motivational board: Making a board that has inspirational words or sayings helps to keep me going. Seeing it everyday, every morning, motivates me to continue on my path or encourage me to start a new one. Motivational boards are great for when trying to meet a fitness goal or like mine, to stay inspired with my blog. It's totally original and can be tweaked for any circumstance.

A Necklace Full of Memories

 A Necklace Full of Memories

My grandma was a very special person. Everyone looked up to her, she was the beam that lighted up a room, not to mention her fashion sense was truly one of a kind. While growing up she let my sister and I rummage through her closet, play dress up and try on all her jewelery. Although she is no longer with us, my grandma left plenty of memories that will stay with me for the rest of my life. One of those special things and memories that she left with us were her plethora of buttons; I recently stumbled upon them and wanted to put them to good use. Hence the title, we're going to be making necklace.

What You'll Need:

 scrap of heavy material (felt is a great choice)
necklace that you're willing to chop up
buttons, pins, etc.
hot glue 
scissors


  Start by finding a heavy piece of scrap material. Place buttons or accessories onto material to find how big you want your necklace to be, cut material.  Now find an arrangement that you like for your necklace.


 Once you have the placement you want, glue down pieces. Cut around edges of material so majority can't be seen (it's okay if some is peaking through, just do the best you can!). Finally, cut old necklace chain in half. Turn new piece over and glue chains on either side of necklace.


 All Finished!


Easter/ Spring Outfit Ideas


 Easter/ Spring Outfit Ideas

I wanted to do an "Easter/ Spring Outfit Ideas" because both involve breaking out the dresses, tanks and capris! Knowing how to incorporate these wardrobe essentials into any outfit, whether Easter or spring time, is a must. These outfits will work for pretty much any work environment and or church/ holiday activities.


Outfit #1: When choosing dresses for this time of year, color is great go to. It brightens up your wardrobe, making it fresh and less bulky. Throwing on a pair of wedges will complete the look keeping it causal and breezy[Dress: thrifted, $5.99; Wedges: Fingerhut]


Outfit #2: This outfit is the most casual. I started with a pair of skinny jeans and added the flowered tank. Too much skin for the occasion, so I threw on an orange vest. I finished the look off with a pair of cream flip flops. Patterns are another way to freshen up your outfit, choosing flowers, like in this tank are perfect for spring! [Jeans: Khols, $19; Tank: thrifted, $2; Vest: $1; Flip Flops: Rue 21, $5]

Outfit #3: The final look is by far my favorite! I like that it's very simple, yet girly. Although it's hard to see, the shirt is a pastel pink color which is an essential for spring time. Pairing the the peplum top with black capris, a black belt and some mary janes makes this look work appropriate as well as helps the pastel color pop! [Top: Gordmans, $5; Capris: thrifted; Mary Janes: thrifted, $5; Belt: thrifted]


DIY Circle Skirt

DIY Circle Skirt


 I've seen circle skirts/ skater skirts all over the place. I've also seen the prices attached to them, EEEEK! I just can't fathom paying 25(+) dollars on piece of material. So for today's tutorial we're going to making our own skirts, that are affordable, cute and so EASY!


 Step 1.) Start with folding fabric in half, then into fourths.


 Step 2.) From the folded corner, mark your measurements (measure your waist and then divide by 6.28.... so if you have a 39 inch waist, divide by 6.28. 6.21 will be where your mark your first arc).


 Step 3.) Now from the first arc, measure how long you want your skirt to be plus and extra inch for seam allowance, mark it and cut both arcs (I used 15 inches for length and seam allowance).


 Step 4.) Cut slit in pattern, will be used for later alterations. Flip skirt inside out, mark hem and iron down. From here you could sew hem, however, if sewing isn't in the books, I used No Sew fabric glue.


 Step 5.) To make the waistband take waist measurement, 39 inches, by 6 inches. Once done, fold in half and iron. (This is where you can add inches if skirt is too short. Just make waistband more than 6 inches!)


Step 6.) Attach waistband to skirt by matching one waistband edge to inside of skirt.  Fold waistband on crease and attach other side of waistband material. The second picture shows finished product. (If this is difficult, just make sure no edges are showing on either the skirt or waistband.. this means matching sides so no edges are seen!). Connect skirt at slit.


 Finished Product!


This is what the waistband should look like! Sorry for the dirty mirror!
Here's a side view!